It started like any other Tuesday. I sat down to work, opened a tab, and… nothing. No connection. My phone also had the dreaded scrolling wheel and a white page.

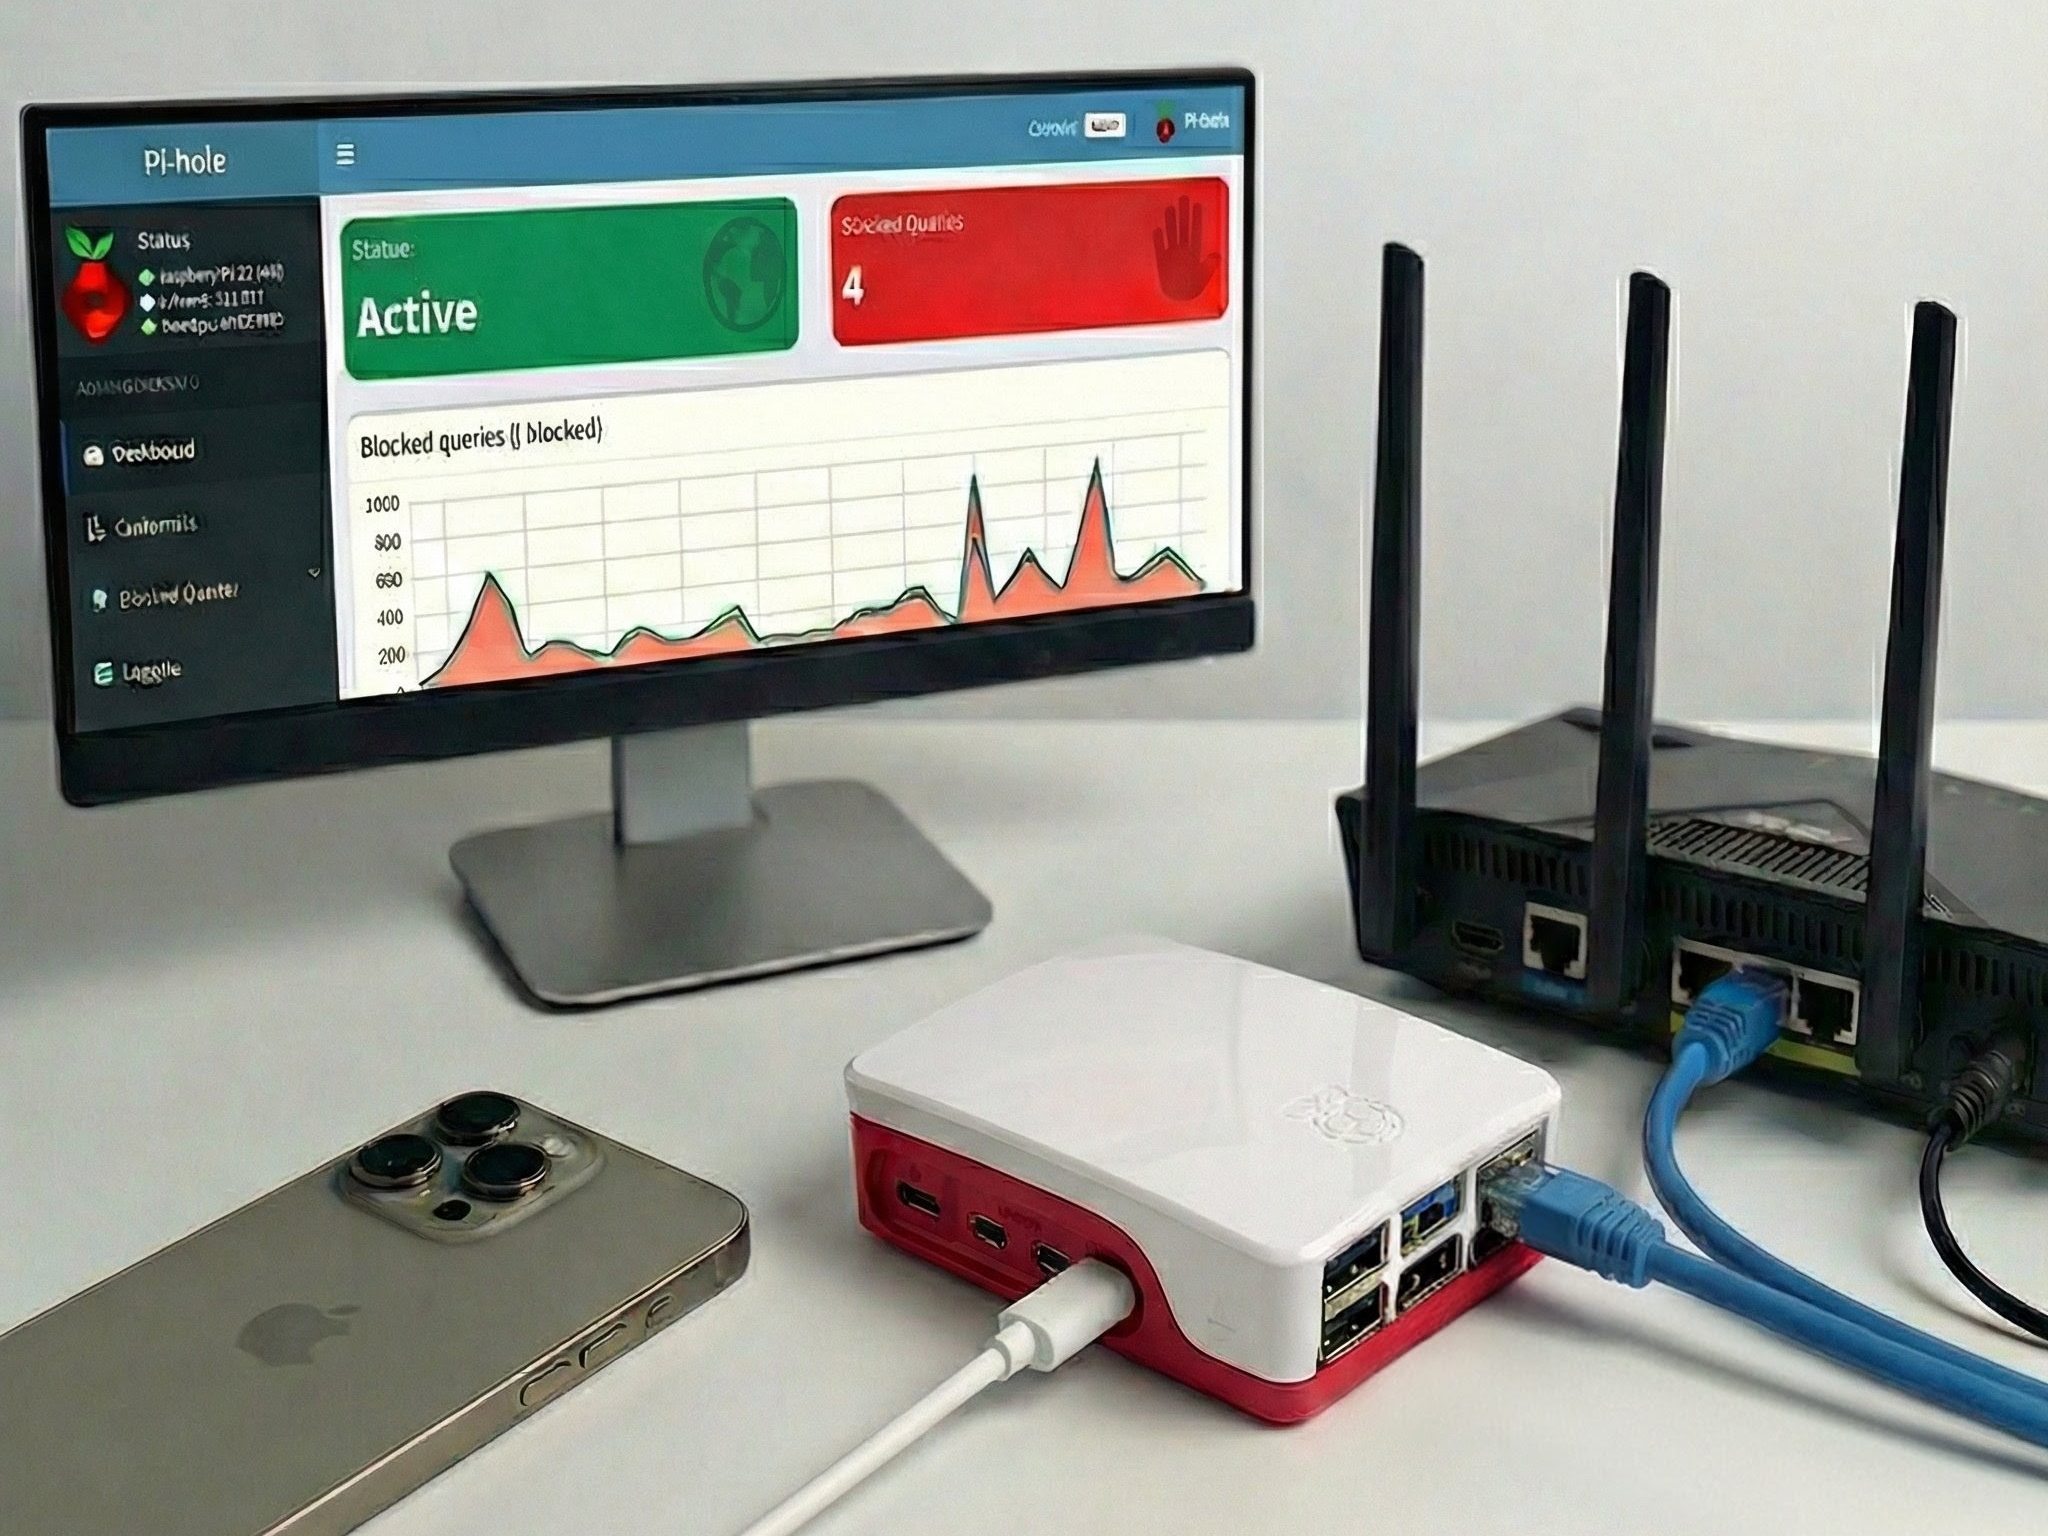
As a homelab enthusiast, my first instinct wasn’t to call the ISP; it was to check if my router needed a reboot or my DNS forwarder froze. I had been running a setup I was proud of: a home based WiFi router access, DHCP and routing within the home and to the Internet, and a separate DNS forwarder using Pi-hole. Pi-Hole being a DNS forwarder, it needed an upstream DNS resolver which I was using cloudflared to run DNS over HTTPS (DoH) rather than just plain old unsecured DNS over port 53. For a long time, this gave me the perfect balance of ad-blocking and encrypted DNS queries.
But after digging through logs and forums, I found the culprit. The cloudflared proxy-dns command—the very heart of my DNS setup—is being deprecated. Cloudflare has announced it will be removed entirely by February 2026 to address security vulnerabilities and because it was technically an undocumented feature. While the official end-date is in the future, my setup had already become unstable, effectively breaking my internet.
I needed a fix, and fast. I wanted to keep the security of DoH without the overhead of the WARP client Cloudflare now recommends. That’s when I found dnscrypt-proxy.
Why Bother? The Case for DoH and DoT
Before diving into the fix, it is worth remembering why we do this. By default, DNS is the “phonebook” of the Internet, translating domain names like google.com into IP addresses.
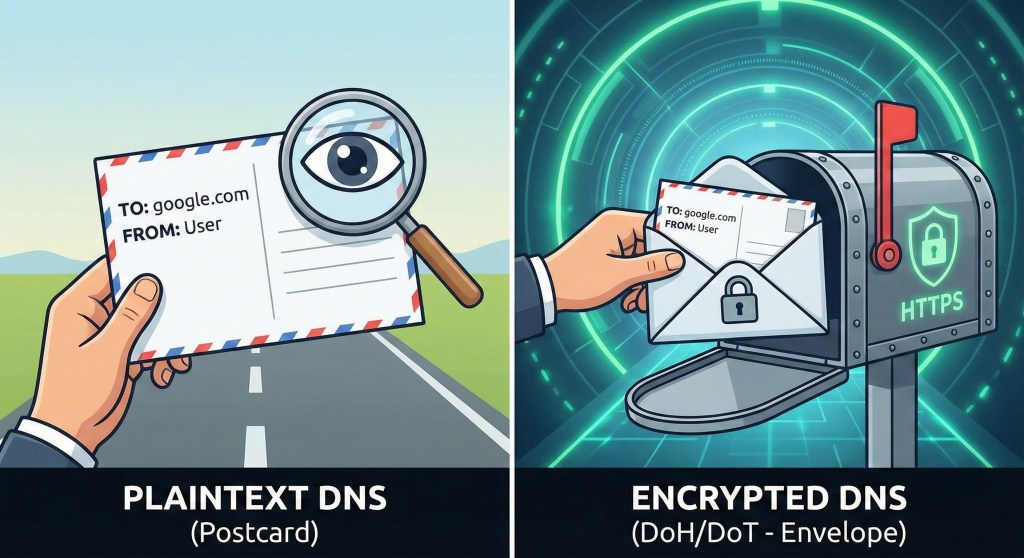
The problem? Standard DNS is like sending a postcard through the mail. It is sent in plaintext via UDP. Anyone handling that mail—your ISP, a coffee shop Wi-Fi admin, or a government censor—can read the back of the postcard and see exactly which websites you are visiting.
To fix this, we put that postcard in an envelope. This is where DoH and DoT come in.
The Contenders: DoT vs. DoH
Both protocols encrypt your DNS traffic, preventing spying and tampering. However, they handle the “envelope” differently:
- DNS over TLS (DoT): This uses a dedicated security protocol (TLS) over a dedicated port (Port 853). It wraps the DNS query in encryption. From a network security standpoint, DoT is great because network administrators can see that DNS traffic is happening (even if they can’t read the content), allowing them to monitor for malicious activity.
- DNS over HTTPS (DoH): This hides the DNS query inside normal HTTP/2 traffic. It uses Port 443, the same port used for standard web browsing.
The Privacy Trade-off: There is a fascinating debate regarding privacy here. DoH camouflages your DNS queries so they look exactly like normal website traffic. This makes it incredibly difficult for ISPs to block or throttle DNS specifically without breaking all web browsing. While some argue this makes network troubleshooting harder, for a casual user wanting to prevent their ISP from snooping, DoH provides a robust layer of privacy.
The Fix: Installing dnscrypt-proxy as the DoH forwarder for Pi-hole
Since cloudflared is no longer a viable option for this specific use case, dnscrypt-proxy is the perfect replacement. It is flexible, supports DoH, and prevents man-in-the-middle attacks.
Here is how I got my internet back up and running on Pi-hole.
Step 1: Install dnscrypt-proxy On newer versions of Debian (and Ubuntu derivatives), dnscrypt-proxy is available in the official repositories. Open your terminal and run:
sudo apt update
sudo apt install dnscrypt-proxy
Step 2: Configure the Socket By default, Pi-hole (specifically FTLDNS) listens on port 53. dnscrypt-proxy might try to grab the same port, which will cause a conflict. We need to move dnscrypt-proxy to a different port (like 5053).
Edit the systemd socket configuration:
sudo nano /usr/lib/systemd/system/dnscrypt-proxy.socket
Look for ListenStream and ListenDatagram and change the IP and port to localhost port 5053:
ListenStream=127.0.0.1:5053ListenDatagram=127.0.0.1:5053Save the file (Ctrl+O, Enter) and exit (Ctrl+X).
Step 3: Configure the Upstream Server Now, tell dnscrypt-proxy which DNS server to use (e.g., Cloudflare). Edit the main configuration file:
sudo nano /etc/dnscrypt-proxy/dnscrypt-proxy.toml
Find the server_names line. You can choose from a list of public resolvers (like Cloudflare, Google, or Quad9) here. To stick with Cloudflare’s security blocking, update it to look like this:
server_names = ['cloudflare-security']Step 4: Restart Services We need to restart the proxy and the Pi-hole FTL service to apply the changes.
sudo systemctl restart dnscrypt-proxy.socket
sudo systemctl restart dnscrypt-proxy.service
sudo systemctl restart pihole-FTL.service
You can verify everything is running correctly with:
sudo systemctl status dnscrypt-proxy.service
Step 5: Point Pi-hole to the New Proxy Finally, we need to tell Pi-hole to send its traffic to our new dnscrypt-proxy instance rather than the old cloudflared instance or public DNS.
You can do this via the command line:
sudo pihole-FTL --config dns.upstreams '["127.0.0.1#5053"]'
Alternatively, you can do this in the Pi-hole Web Interface:
- Go to Settings > DNS.
- Uncheck all public upstream DNS providers on the left.
- In the Custom 1 (IPv4) box on the right, enter:
127.0.0.1#5053 - Click Save at the bottom.
Conclusion
It was a panic-inducing morning, but switching to dnscrypt-proxy has arguably left me with a more robust and standard configuration than I had with the now-deprecated cloudflared method. My DNS traffic is once again encrypted, wrapped safely inside HTTPS “envelopes,” and hidden from prying eyes.


Leave a comment